
 2022/02/25
1. Installation
1) LabVIEW 2012 or above version is installed on the computer.
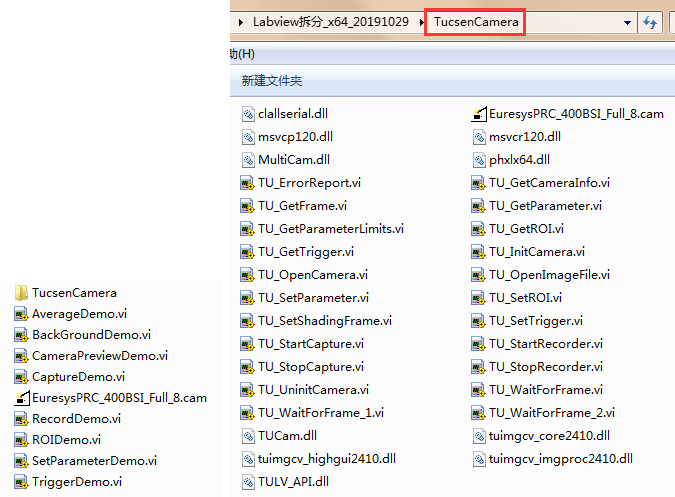
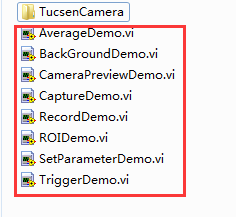
2) The plug-in provides x86 and x64 versions, which are compiled based on LabVIEW 2012 version and contain the following files.
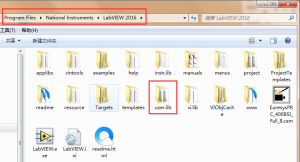
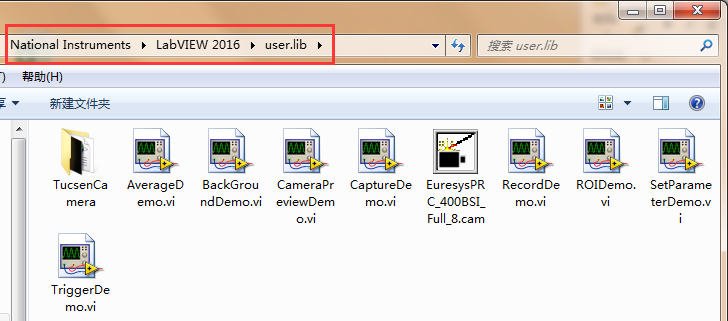
3) When installing, users only need to copy all the files of x86 or x64 versions to the [user.lib] folder in the LabVIEW installation directory.
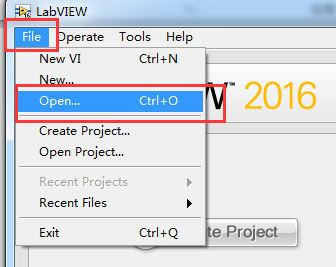
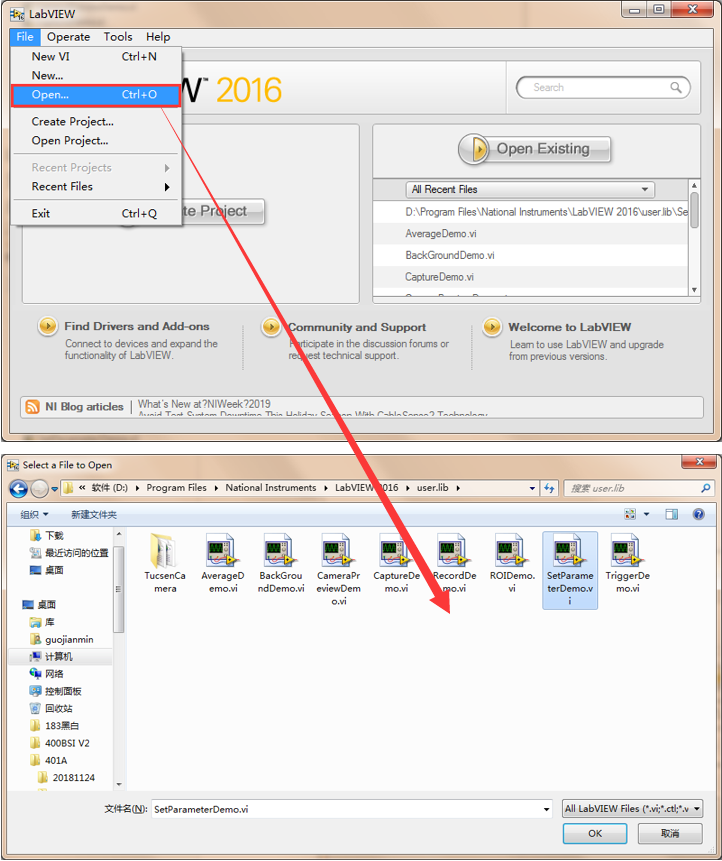
4) Connect the camera to the power cord and data cable. The sub VI file can be opened directly. Or open the LabVIEW firstly and select [File] > [Open], select the sub VI file in [user.lib] to open it.
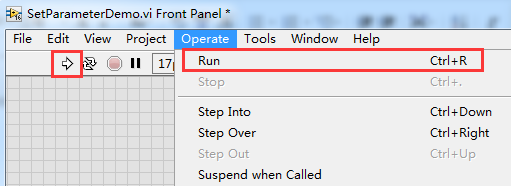
5) Select [Operation] > [Run] from the menu bar or click the [Run] shortcut key in the shortcut bar to run the camera.
6) If you want to open another sub VI, you must stop the current VI. Only one VI file can be run at a time. You can directly click the [QUIT] button on the VI interface or select the [Operation] > [Stop] in the menu bar to stop camera.

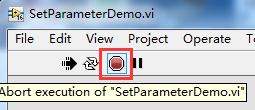
Note:
The [Abort] shortcut key in the shortcut bar is not to stop the camera, but to stop the software. If you click the button, it is necessary to close the software window and open it again.
2. LabVIEW high version instructions
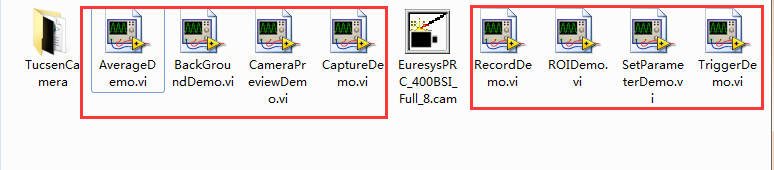
The eight sub VI files provided are all saved in LabVIEW 2012 format by default.
If you want to run on the high LabVIEW version, you need to close the interface after running any VI and save all eight into the high LabVIEW version format. Otherwise, a warning box will pop up every time you open and close it. This warning box will not affect the operation of the camera and there will be no problem if you do not save it.
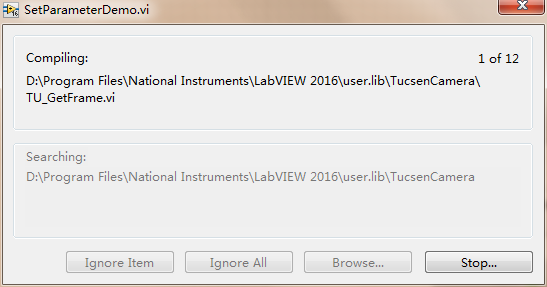
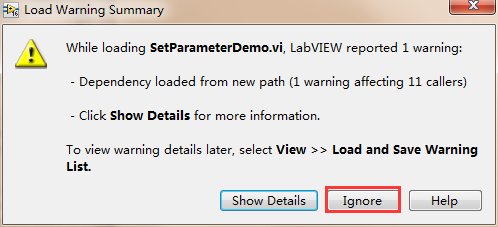
Take LabVIEW 2016 as an example. When you open a VI file, you will get the following two pop boxes. Load all the sub VI files firstly.
Just click [Ignore] button and the file will run normally.
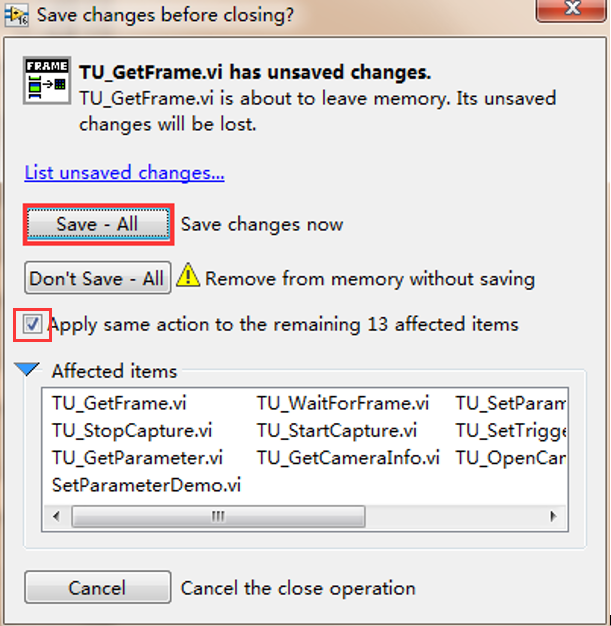
Close the sub VI and the software will pop up [Save changes before closing?] every time. Select all and click [Save-All] button. Next time open and close will not pop up prompt and warning box.
1. Instructions of cameralink frame grabber on LabVIEW
3.1 Euresys frame grabber
First, copy all plugin files to the “user.lib” folder.
There are two ways to open VI on LabVIEW software.
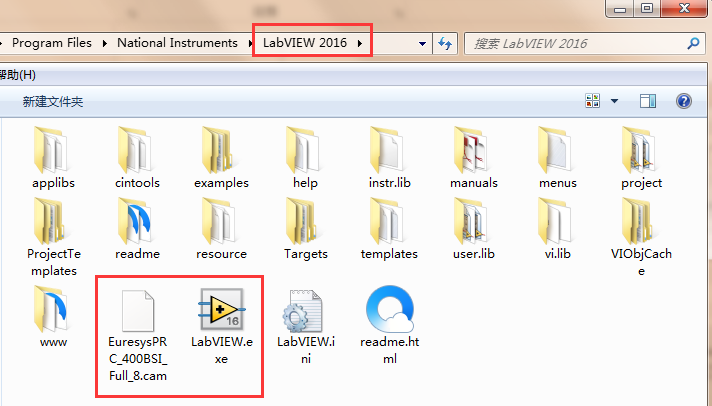
1) If you double-click to open the VI file, you must place the [EuresysPRC_400BSI_Full_8.cam] file in the same level directory as the VI files.
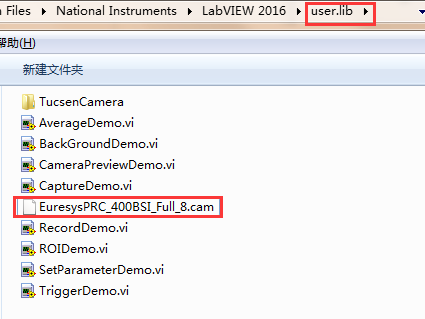
2) Open LabVIEW first and open the VI file through the interface. At this situation, [EuresysPRC_400BSI_Full_8.cam] file and [LabVIEW.exe] file should in the same level directory.
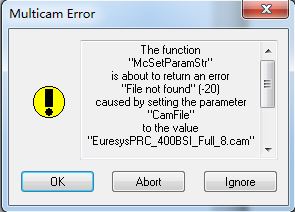
In the above two cases, if [EuresysPRC_400BSI_Full_8.cam] file is missing, the following prompt box will pop up when VI is run and the camera cannot be connected normally.
It is recommended to place [EuresysPRC_400BSI_Full_8.cam] file in both [user.lib] directory and [LabVIEW.exe] root directory, and the two open ways can work normally.
Note:
LabVIEW 2012 and LabVIEW 2016 use the same method.
3.2 Firebird cameralink frame grabber
Firebird frame grabber does not have problems that Euresys frame grabber has, so no other operations, directly put all files in the “user.lib” folder. Both ways of opening are normal.
Notes:
1) When using the latest LabVIEW plug-in, please update the [TUCam.dll] file in the directory [C:WindowsSystem32] to the latest version.
2) The firmware f253c045, f255c048 and f259C048 of Dhyana 400DC are not fully compatible. They can connect to preview normally, but some color related functions are not compatible (such as white balance, DPC, saturation, gain, etc.).
3) Demo VI files do not support all functions of the camera, such as trigger output control, fan and indicator light control.
4) The automatic level mechanism, frame rate mechanism and over-exposure screen full black mechanism built in LabVIEW 2012, and also exist in Labview 2016.
5) The generated SDK configuration files, captured images and videos are saved in the [user-libTucsenCamera] path by default.


