
 2022/02/25
1. MicroManager Installation
1) Please download Micro-Manager from below link.
https://valelab4.ucsf.edu/~MM/nightlyBuilds/1.4/Windows/
2) Double click the [MicroManager.exe] file to enter the interface of installation;
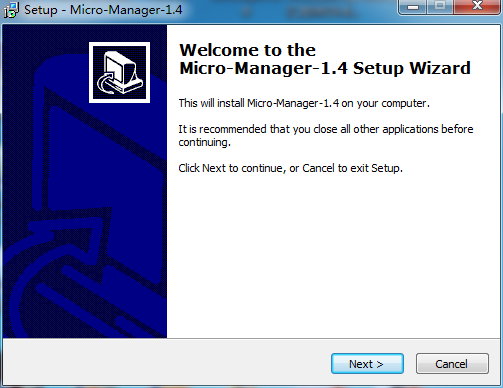
3) Click the [Next>] to enter the interface of selecting destination location.
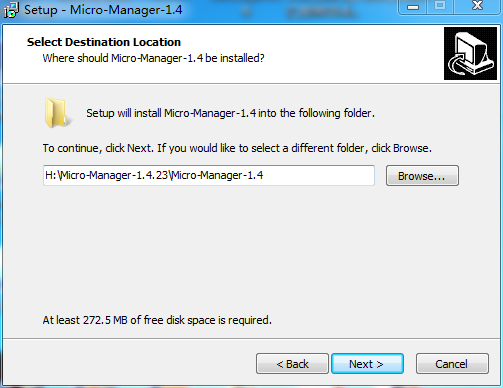
4) After select the install folder and click [Next>]. Follow the steps of the installation wizard and click Finish to complete the installation.

2. Driver download and installation
Please download the latest sCMOS camera driver from Tucsen official website. Double-click the downloaded driver and follow the steps of the installation wizard.
3. The load camera settings of MicroManager
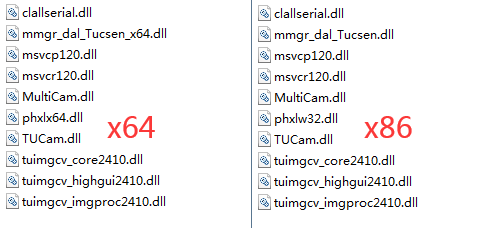
1) Put all the files of the provided plug-ins into [C:WindowsSystem32] or [C:Program FilesMicro-Manager-1.4].

The 64-bit and 32-bit plug-ins should correspond correctly respectively.
2) Connect the power and the data cable of the camera.
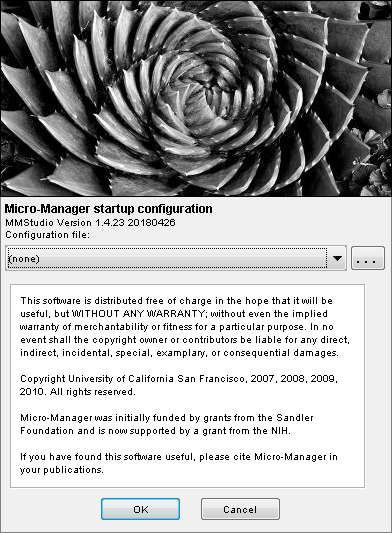
3) Double click the Micro-Manager icon to open it.
4) A dialog box appears that allows the user to select the file to configure the camera.
5) Start the camera for the first time, select (none) if there is no corresponding configuration file, and click OK.
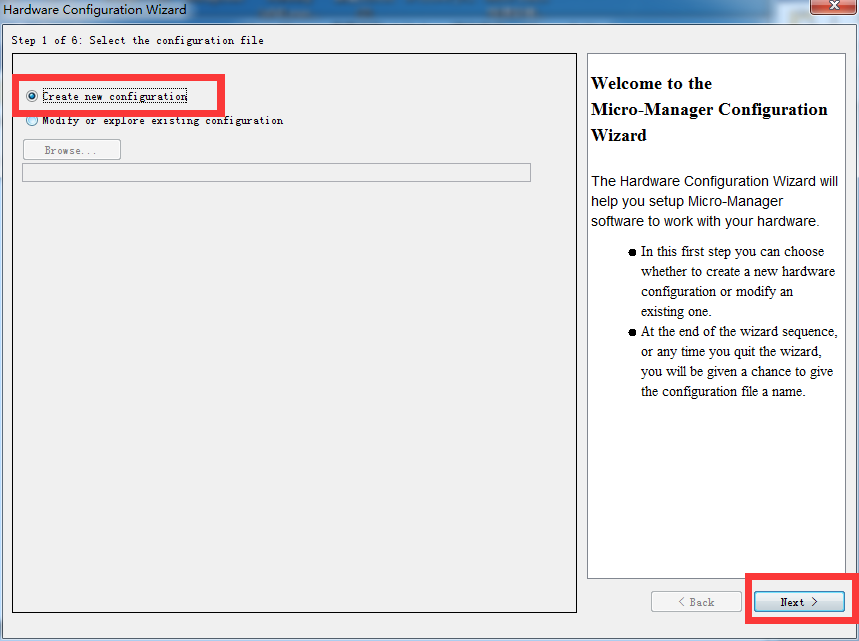
6) Select [Tools>Hardware Configuration Wizard] to enter [Hardware Configuration Wizard] interface. Select [Create new configuration] and click [Next >].
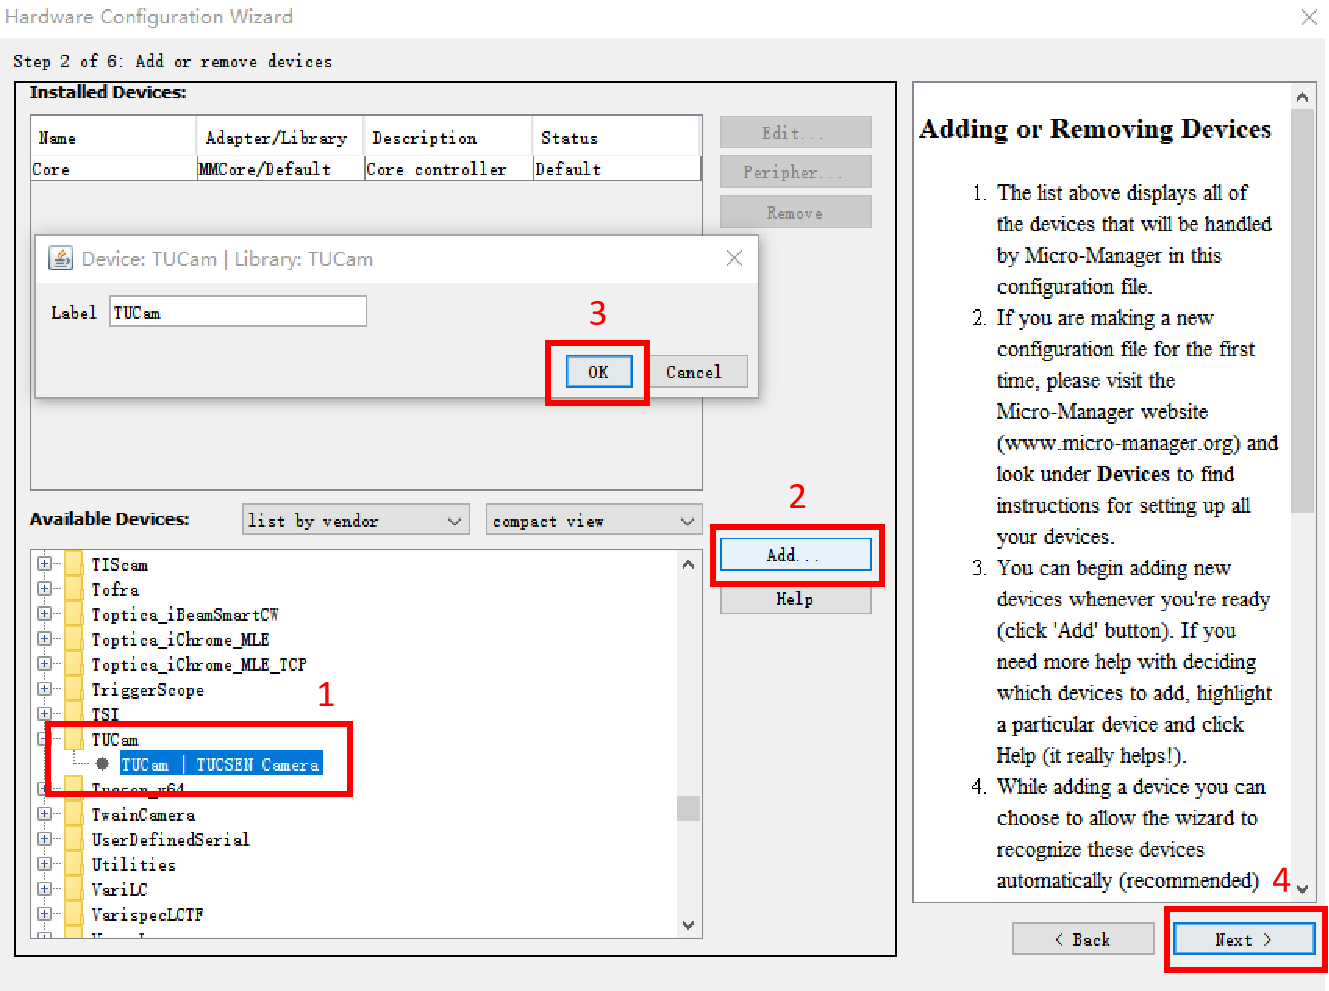
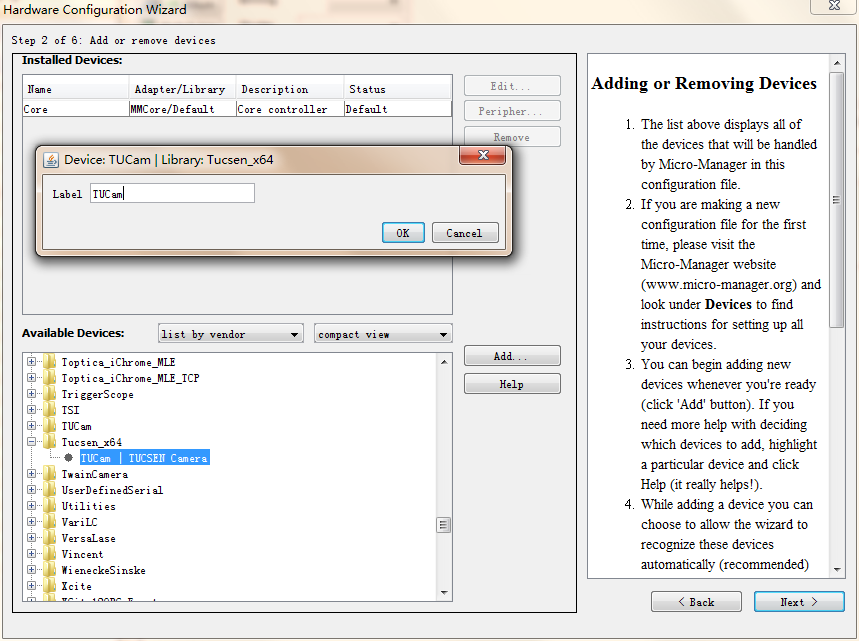
7) Step 2 of 6: Add or remove devices. Find the [TUCam] in Available Devices, open it and select [TUCam/TUCSEN Camera]. Click the [Add] button to enter the [Device: TUCam/Library: Tucsen_x64] interface. Click the [OK] and then click [Next >].
8) Step 3 of 6: Select default devices and choose auto-shutter setting. Click [Next >].

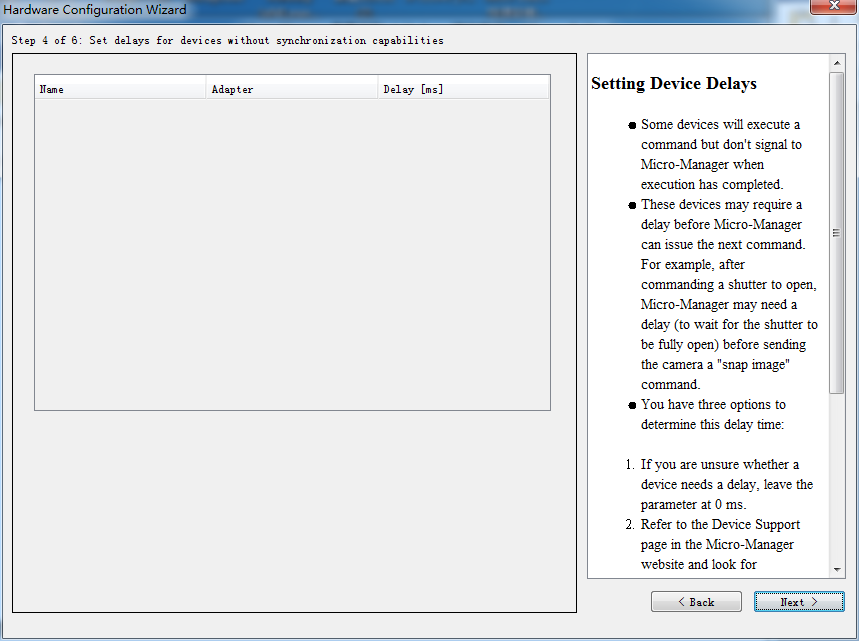
9) Step 4 of 6: Set delays for devices without synchronization capabilities. Click [Next >].
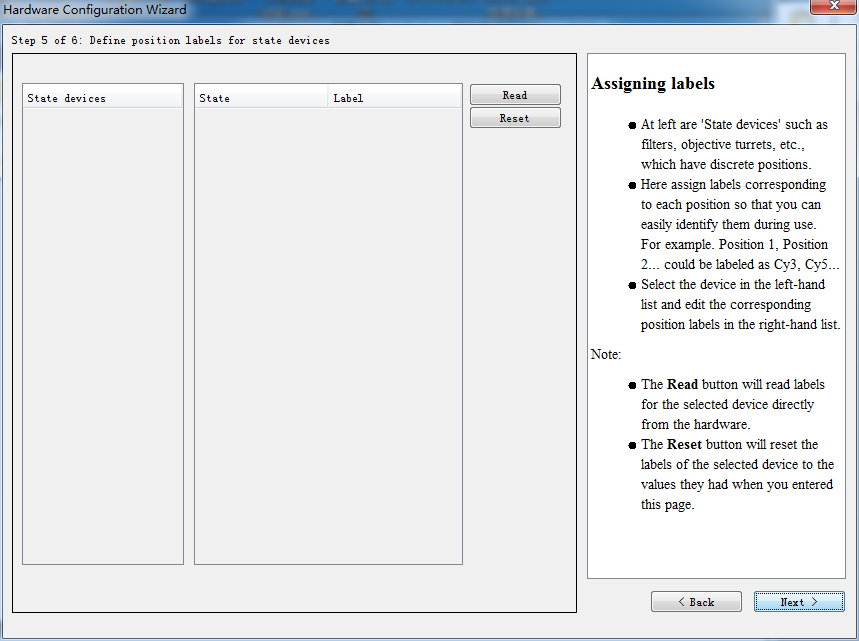
10) Step 5 of 6: Set delays for devices without synchronization capabilities. Click[Next >].
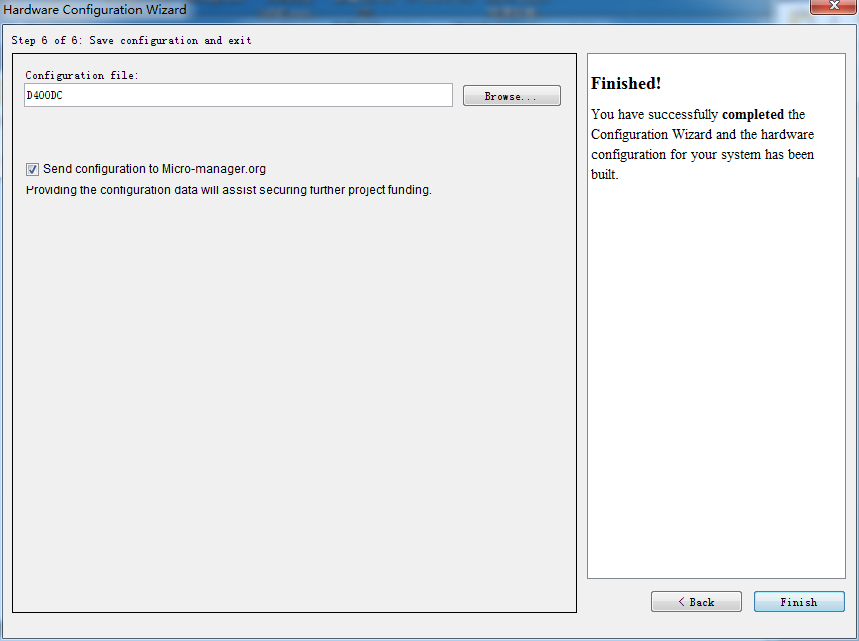
11) Step 6 of 6: Save configuration and exit. Name the configuration file and select store folder. And then click the [Finish].
12) Enter the Micro-Manager operating interface.
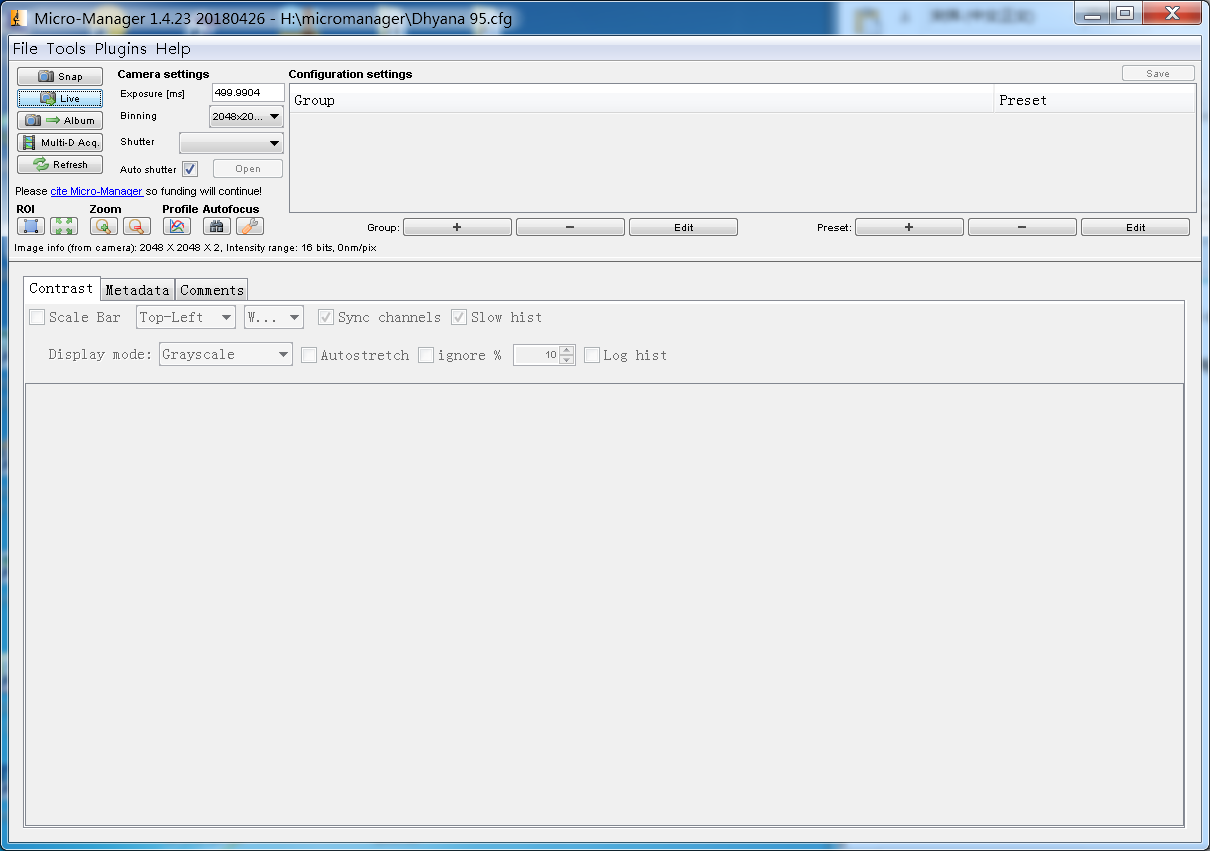
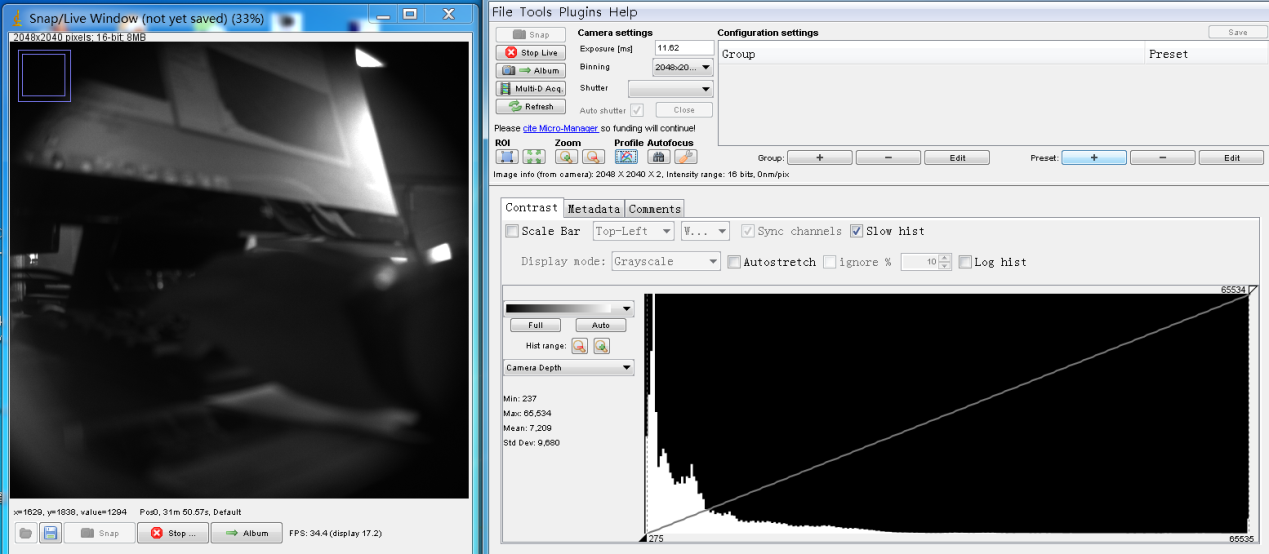
13) Click [Live] to enter the preview mode and the camera is loaded successfully.
Note:
Tucsen cameras currently supported by MicroManager include Dhyana 400D, Dhyana 400DC, Dhyana 95, Dhyana 400BSI, Dhyana 401D and FL 20BW.
4. Multi camera
1) In Step 2 of 6 in Hardware Configuration, double click the TUCam to load the first camera. Note that the name cannot be changed.
2) Double click the TUCam again to load the second camera. Note that the name cannot be changed, too.

3) Double click the Multi Camera in Utilities to load it.
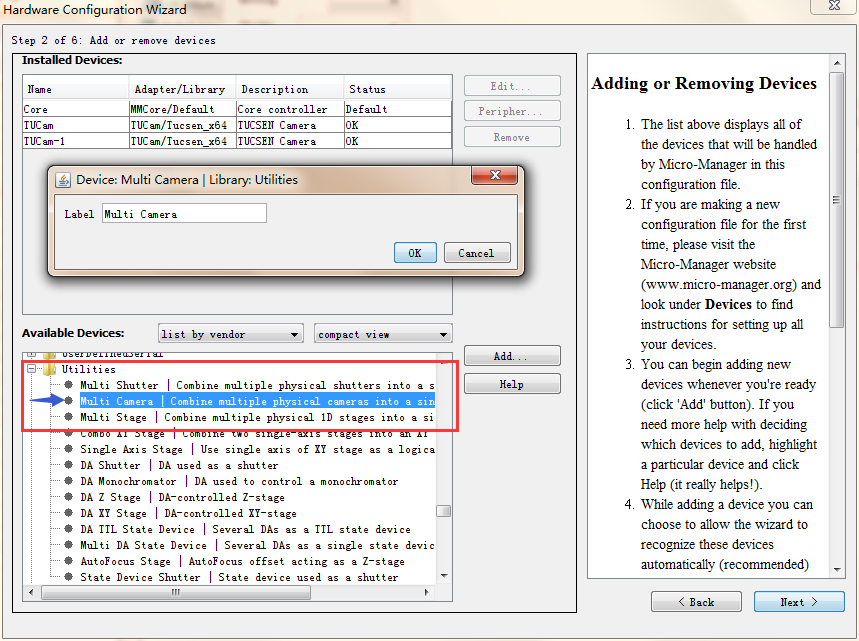
4) Click Next button to complete the configuration.
5) Define the sequence of cameras.


Note:
1) When using the plug-in, please update the ‘TUCam.dll’ file in ‘C:WindowsSystem32’ directory to the latest version.
2) If the resolution of two cameras is different, preview cannot be done at the same time.
3) 64-bit plug-ins are recommended.


